


As any keen photographer will know, light is at the heart of the art form. Without light (and shade), photographs wouldn’t exist. When it comes to lighting, there is often a lot of focus on artificial light sources — whether in a dedicated photography studio or other indoor settings.
While exploring different artificial light forms is an important skill to learn in photography, harnessing natural light is just as valuable. Whether you want to see how natural light affects your portrait photography or you’re interested in experimenting with outdoor photography lighting, we’ve got some handy tips to help you make the most of what nature has to offer.
How does natural lighting affect photography?
Our beginner’s guide to photography lighting explored the key foundations of using light when taking photos. Today, we’re going to be looking at natural light vs artificial light in photography, exploring the differences.
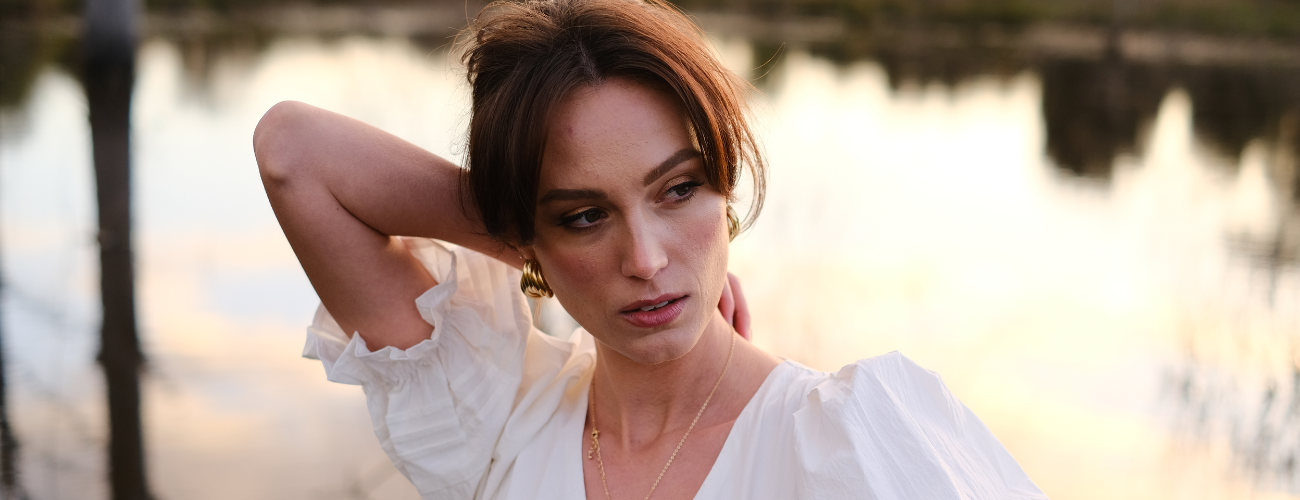
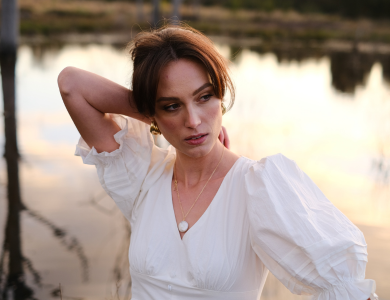
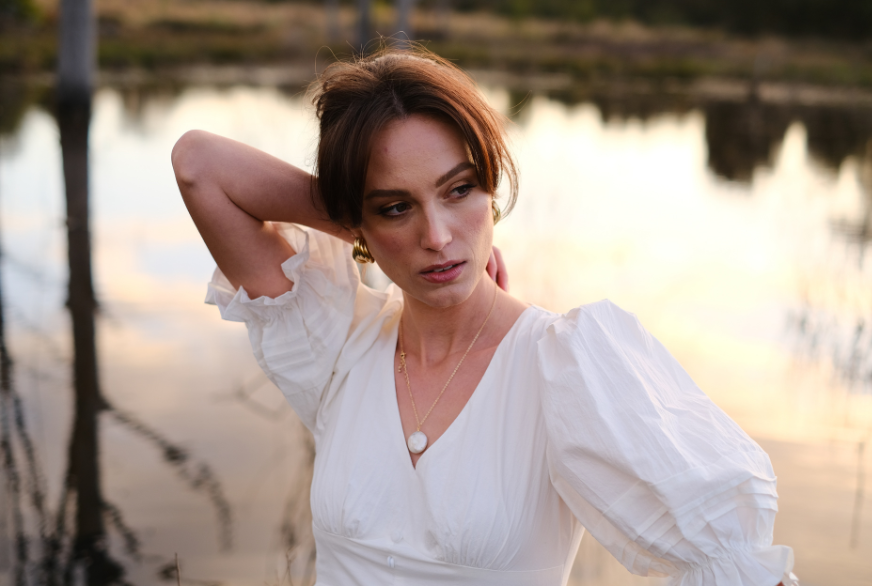
Natural lighting changes throughout the day — from the early morning golden hour, just before sunrise, to the brightness of midday, and all the way through to mystical twilight. Each lighting condition brings something different to your photography, offering various colours, shadow placements, and contrasts. The natural light available can completely alter the mood of your photos.
While these natural light changes offer nuance, they can also be trickier to harness than artificial light. In a studio, you can move a spotlight to change how a shadow falls or increase or decrease the brightness — you can learn more about this in our guide to mastering studio lighting. Natural light, on the other hand, is always shifting and is largely beyond human control.
Top tips for using natural light in your photography
The good news is that, with awareness of your environment, some flexibility, and a bit of creativity, you can use natural light to your advantage for high-quality, evocative photography.
Here are some tips and considerations for when you next use your camera in natural lighting conditions:
-
Move your subjects
Although you can’t move the light source when dealing with natural light, you can move your subject (or move around your subject if it’s something stationary, like a tree or building). This means you can explore front lighting, side lighting, and back lighting to see how this changes your photos.
-
Explore different angles
Moving around can also help you explore different angles to alter how shadows fall. It also lets you change how light falls on your subject so you can pick out different highlights.
-
Adjust your camera’s white balance
Knowing your camera’s settings is vital, whether you’re using natural or artificial lighting. Adjusting your camera’s white balance can help you control different colour tones, which can completely change the feel of your images.
If the light feels too cold, you can adjust the white balance to add warmth and vice versa. It’s a great way to get the results you want when you can’t adjust artificial lighting.
Depending on the camera model you have, you’ll usually have the option to select specific modes, such as ‘Daylight’ and ‘Shade’. These automatically adjust your camera to help you get the most out of the current lighting circumstances. Alternatively, you can adjust your settings manually.
-
Think about the time of day
As mentioned, natural light changes throughout the day, so the time you choose to shoot will affect your photography results. For outdoor photography, consider the lighting effects of:
- Golden Hour: Just after sunrise and just before sunset, the sky has a gorgeous golden glow. This can provide a warm, romantic effect and is perfect for landscapes, cityscapes, and even wedding or engagement shoots.
- Blue Hour: Around 20 minutes before sunrise and after sunset, twilight offers a blue effect for a cooler colour profile and a sense of mystery.
- Midday: At midday, the sun is at its highest point in the sky, creating harsher shadows. This can be ideal for creating sharp, high-contrast images. You’ll often see this lighting type harnessed in street photography — it can result in bold and effective cityscape photos.
-
Avoid direct sunlight when photographing portraits
If you want to use natural light in portrait photography, it’s worth noting that the harshness of midday or direct sunlight can lead to less flattering results. Portraits generally favour softer morning or afternoon light.
-
Try reflectors and diffusers
If you feel the lighting conditions are too harsh, try using reflectors to bounce the available light or softboxes and other diffusers to disperse it. These tools can soften your lighting.
-
Embrace grey days
It may be tempting to stick with sunny days for natural light photography. While you can capture stunning landscapes, architectural images, and portraits in the sunshine, don’t be afraid of poor weather.
Cloudy days can diffuse natural lighting, and rain or storms can add drama to your photos. See how changing weather throughout the year affects both the natural lighting available and your photography.
-
Be aware of your backdrop
Remember, natural light impacts your photo background as well as the subject. Whether you’re photographing a portrait in a living room, a mountainous landscape, or an architectural structure, pay attention to how your lighting falls on the backdrop and interplays with other elements of your photo.
-
Enrol in a photography workshop
Learning from experts and with peers can be a wonderful way to develop your photography skills. At the FUJIFILM School, we run a variety of genre-based workshops to help you explore different photography elements and techniques.
We often host workshops that focus on how to use lighting — such as our upcoming An Introduction to Portrait Lighting Workshop. Other workshops cover night photography, street photography, and wildlife photography, and each acknowledges the importance of working with natural light.

Keep learning with FUJIFILM
Take a look at what photography workshops we’ve got coming up on the calendar, and embrace learning opportunities with the FUJIFILM School and FUJIFILM House of Photography.
If you’d like to see how different cameras, lenses, and equipment can improve your photography skills, you can also make the most of our 'try before you buy’ loan system, where you can test our selected equipment for 48 hours!
Learn more and see which FUJFIILM photography products are available to borrow.

 +44 (0) 203 486 4610
 8-9 Long Acre, Covent Garden, London, WC2E 9LH
 houseofphotography@fujifilm.com


